


In this guide, we will thoroughly discuss how to integrate the cloaking PHP file onto your hosting and domain. We will go step by step through all the stages: from preparing hosting to configuring cloaking and testing the link.
This method is universal — it works for any traffic sources and does not require any experience or complex technical knowledge. It's simple, accessible, and effective.
Ready? Let’s get started!
For this method, you will need:
An account on Cloaking.House
Hosting supporting PHP version 7.4 and above
A domain name
A White Page (the page that will be used as the white page)
Let’s begin with the basic step: setting up your White Page on hosting and domain.
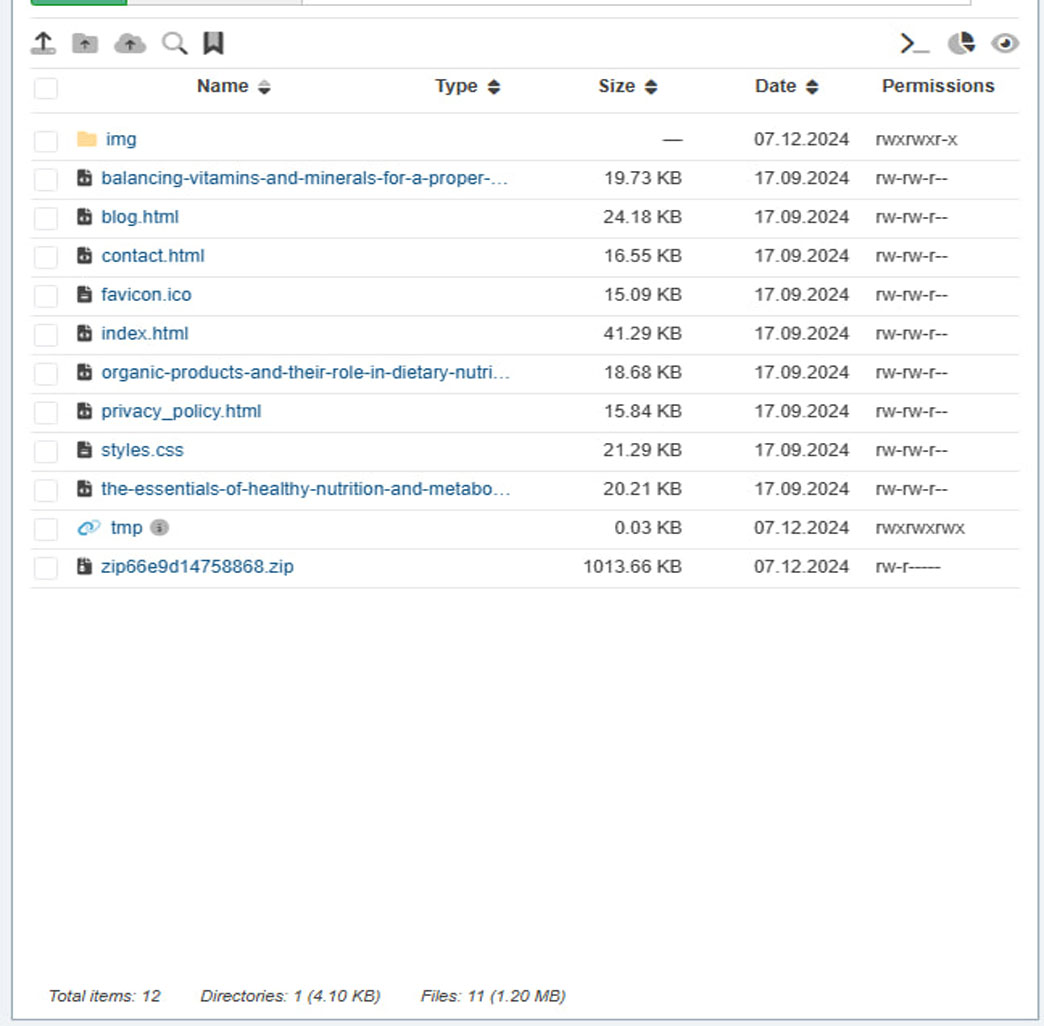
Open the file manager of your hosting (usually located in the hosting control panel).
Upload the pre-prepared white page. The format of your page can be either PHP or HTML — this doesn’t matter for cloaking to work. In this example, we are using a white page in HTML format.
Now your White Page is installed and ready for further configuration!
After uploading the White Page, open your domain name in the browser and make sure the page displays and works correctly. If the white page loads without errors, you can proceed to the next step.
At this stage, rename your index.html file to a different name. For example, you can call it site.html. If your file format is PHP, you should also rename it while keeping the format, for example, to site.php.
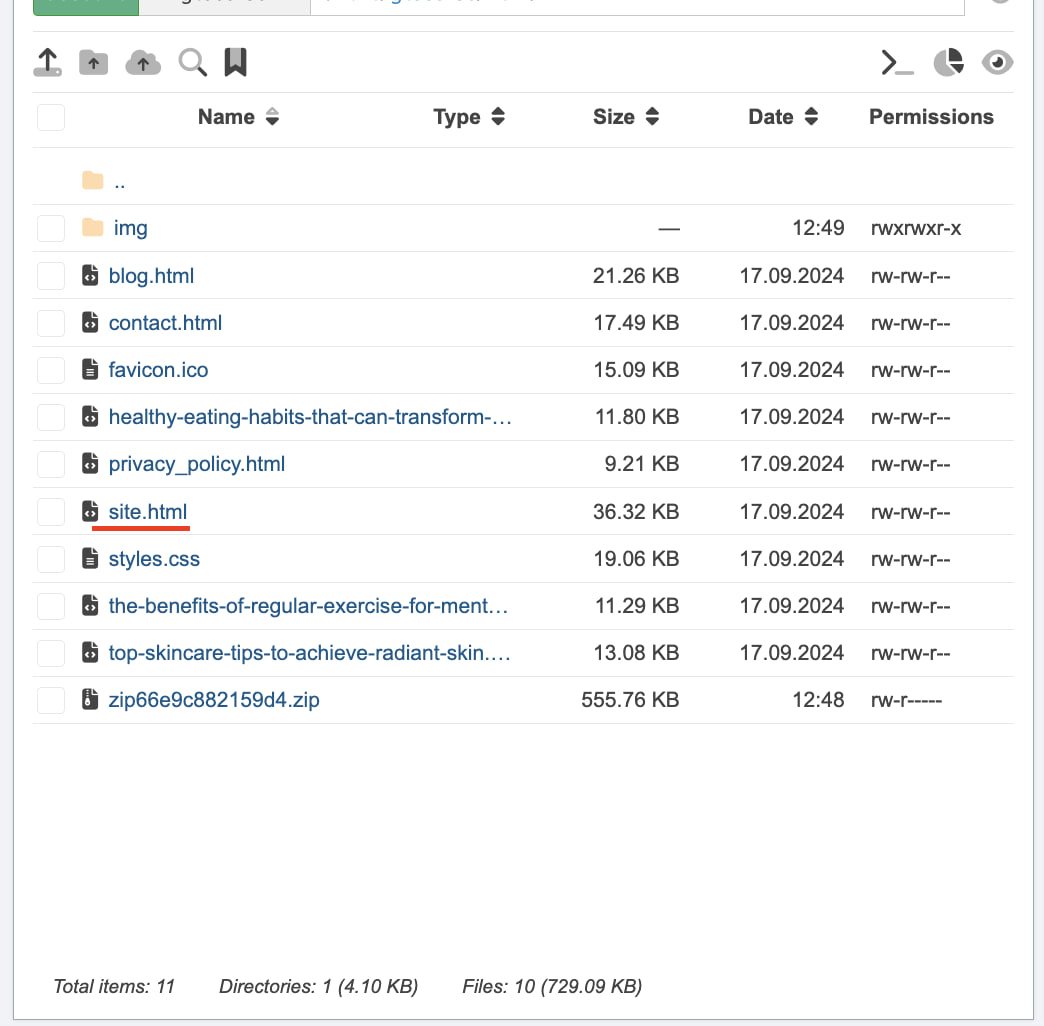
IMPORTANT: This renaming must be done to avoid a conflict of two index files when adding the cloaking index.php file.
Now that the preparatory steps are complete, let’s move on to setting up cloaking.
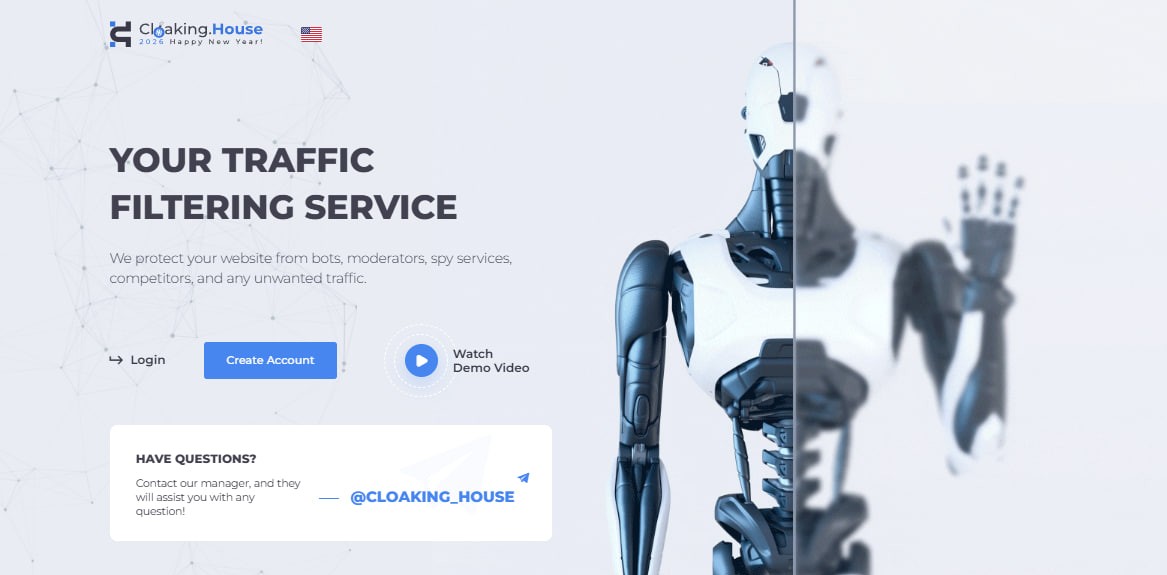
Go to Cloaking.House and register if you don’t have an account yet.
After registering, you will automatically get trial access to the starter plan for 7 days. This will allow you to test all the service’s features before purchasing.
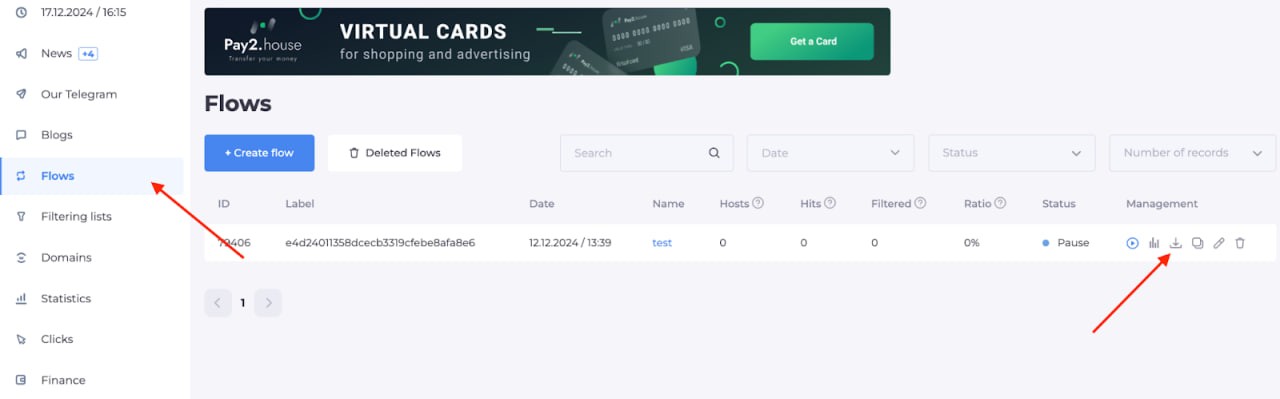
To start, you need to create a flow. Go to the “Flows” tab and click “Create Flow.”
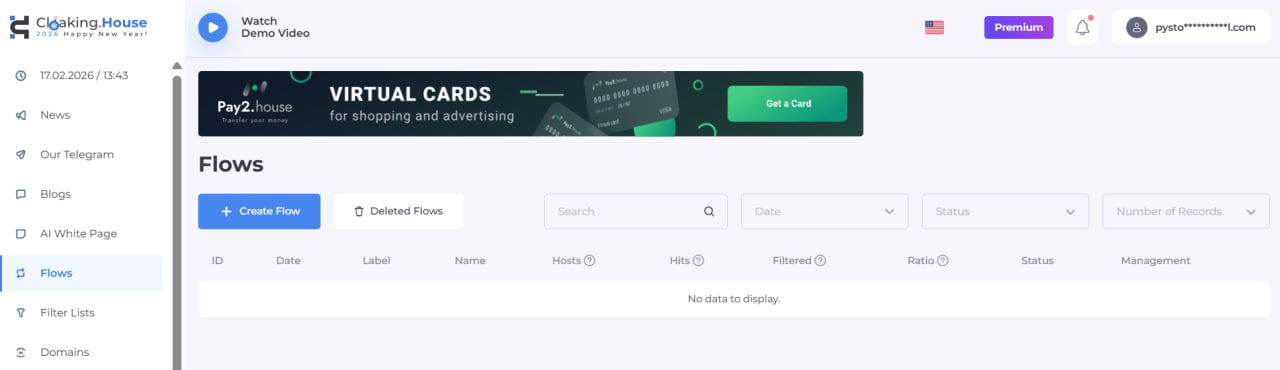
After navigating to the flow creation tab, let’s start the setup:
Choose a name for your flow: for example, we will use “test” but you can choose any convenient name.
Fill in the "White Page" field: here, enter the name of the file that will be used as the white page. We will write site.html — this is the file that was renamed earlier. Select the method “Loading”
Fill in the "Offer Page" field: here, you can specify your partner link or the URL of your offer page. For this example, we will use a YouTube link. Select the method “Redirect.”
After completing the setup, click “Continue” to proceed to the next step — the filter settings menu.
Here you will set parameters for traffic filtering. Let's break down each filter and its capabilities in detail, so you can adjust them according to your needs.
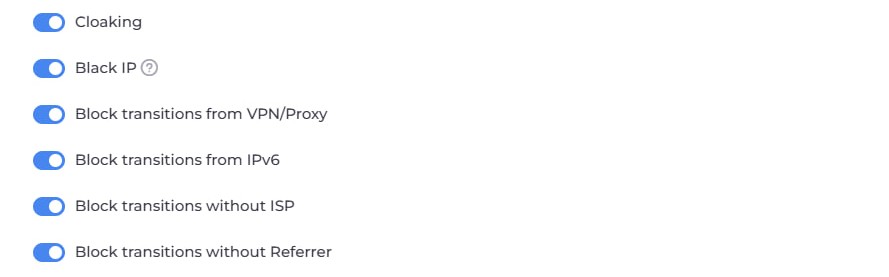
Cloaking Filter – This is general protection from bots and moderators across all advertising sources. When enabled, such traffic will be filtered and directed to the White Page.
Black IP Filter – This filter triggers when the system has previously detected unwanted transitions from a specific IP address. For example, it may trigger if transitions from that IP were previously noticed from bots or moderators, if the country or ISP cannot be determined for that IP, or if there were attempts from undetermined devices. When activated, the White Page is shown to the client.
VPN/Proxy Filter – This filter activates when the client’s IP address is detected as a proxy server. This filter works only if it has been enabled in the flow settings. When activated, the White Page is shown.
IPv6 Filter – This filter triggers when the client’s IP address is detected as IPv6. When activated, the White Page is shown.
ISP Filter – This filter activates when it’s impossible to determine the client’s ISP based on their IP address. When activated, the White Page is shown.
Referrer Filter – This filter triggers when the client's referrer is unknown or the client visits a link entered directly into the browser’s address bar. When activated, the White Page is shown.
Next, we have more detailed settings for your cloaking link:

Number of clicks from one IP per day – This parameter lets you specify the maximum number of clicks from one IP per day before the visitor is forcibly redirected solely to the White Page.
Number of clicks before filtering – This parameter lets you specify the number of clicks after which cloaking will start working. Visitors within the specified click limit will be directed only to the White Page.
Countries – This filter activates when the client’s country cannot be determined based on their IP address or when the client visits from a country not allowed in the flow settings. When activated, the White Page is shown.
Devices – This filter activates when the client’s device cannot be determined based on their User Agent or when the client visits from an unsupported device. When activated, the White Page is shown.
Operating Systems – This filter triggers when the client’s operating system cannot be identified based on their User Agent or when the client visits from an unsupported OS. When activated, the White Page is shown.
Browsers – This filter triggers when the client’s browser cannot be identified based on their User Agent or when the client visits from an unsupported browser. When activated, the White Page is shown.
For advanced arbitrage and webmasters, there are filters providing full precision and control.

Languages – This filter activates when the client’s browser language cannot be identified or when the client visits with a browser language that is not allowed in the flow settings. When activated, the White Page is shown.
Time Zone – This filter triggers when the client’s time zone, as determined by their IP address, is not in the allowed list in the flow settings. This filter allows more accurate geo-targeting of traffic and can detect suspicious activity (e.g., if the IP address points to one country but the time zone indicates another). When activated, the White Page is shown.
Connection Type – This filter activates when the client’s internet connection type (determined by their IP address) is not in the allowed list in the flow settings.
Available connection types:
Satellite Connection — Internet access via satellite communication channels.
Corporate Network — Connection through internal company networks, data centers, or VPNs.
Mobile Connection — Mobile internet from operators (3G/4G/5G).
Cable/DSL Connection — Standard connection via cable or phone line providers.
The filter helps manage traffic quality, filtering out unwanted sources (e.g., data centers or suspicious corporate networks). When activated, the White Page is shown.
After completing the filter settings, click the "Save" button, and you will go to the third page of flow setup.
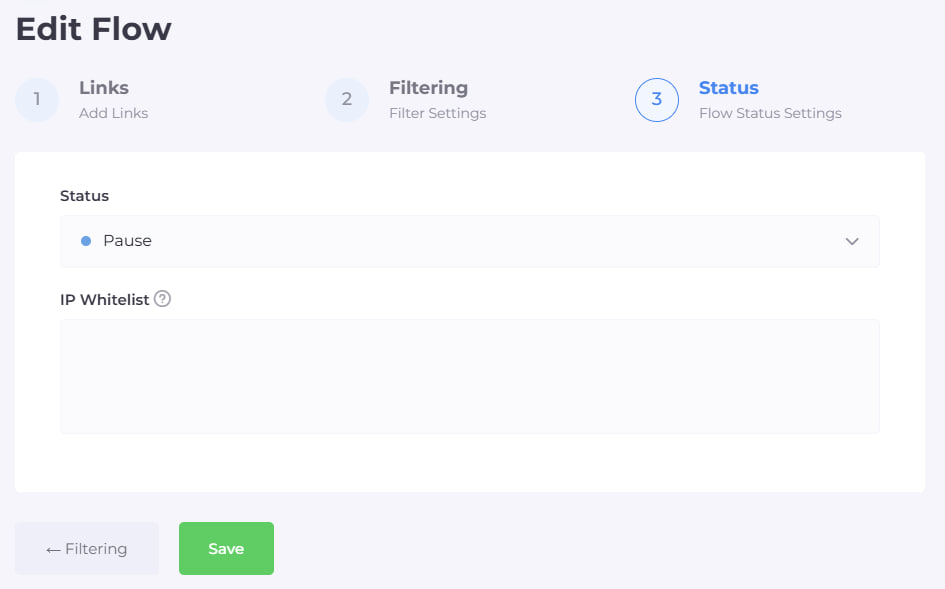
At this stage, no further changes are required — click "Save" and your flow will be successfully created. Now, you can proceed to integrate the cloaking PHP file into your hosting.
To do this, open the "Flows" tab and download the index.php file for your created flow.
After downloading the file, upload it to your hosting where your white page is already located.
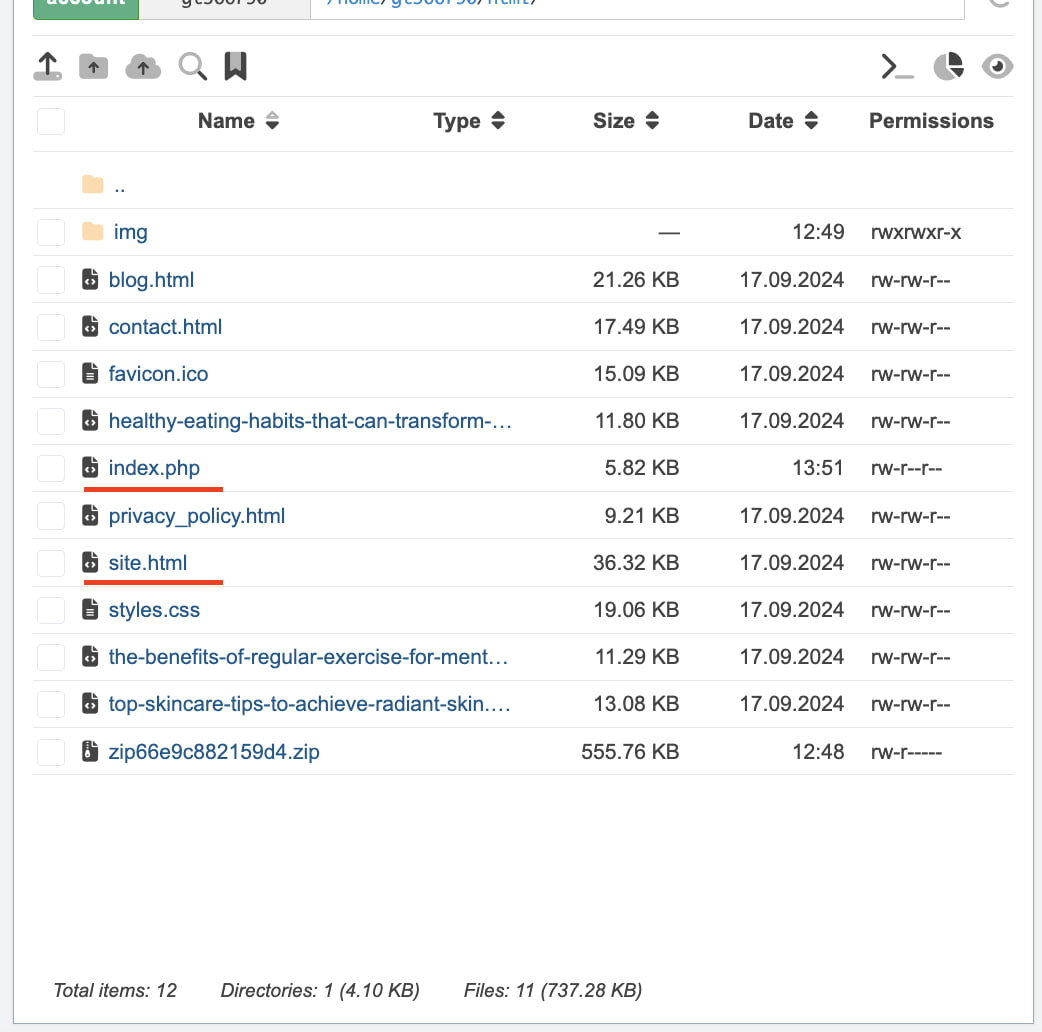
In the screenshot below, you can see that on the hosting, there are:
index.php — this is the cloaking file you just downloaded and installed.
site.html — this is the renamed white page file.
IMPORTANT: Make sure both files are in the same directory for cloaking to work correctly.
At this point, the cloaking setup is complete! Now, you need to check your link.
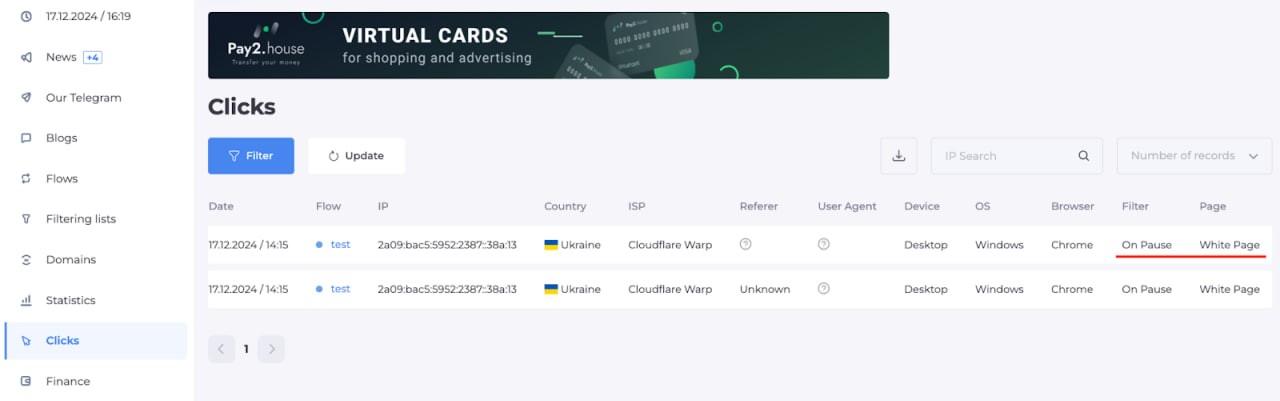
To do this, open the domain name where your White Page is set. If you see the White Page, don’t worry — this is normal. It means you have been affected by one of the filters.
To find out which filter redirected you to the White Page, open the "Clicks" tab. In the "Filter" and "Page" columns, it will show which filter was triggered and where you were sent.
To check if the Offer Page loads correctly, do the following:
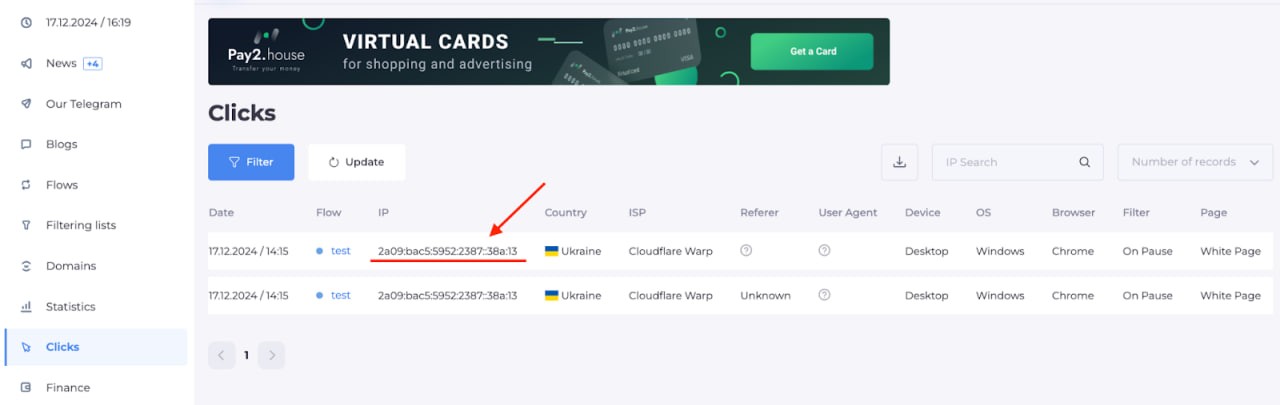
Open the "Clicks" tab.
Find your IP address in the list and copy it.
Insert it into the whitelist on the third page of flow setup.
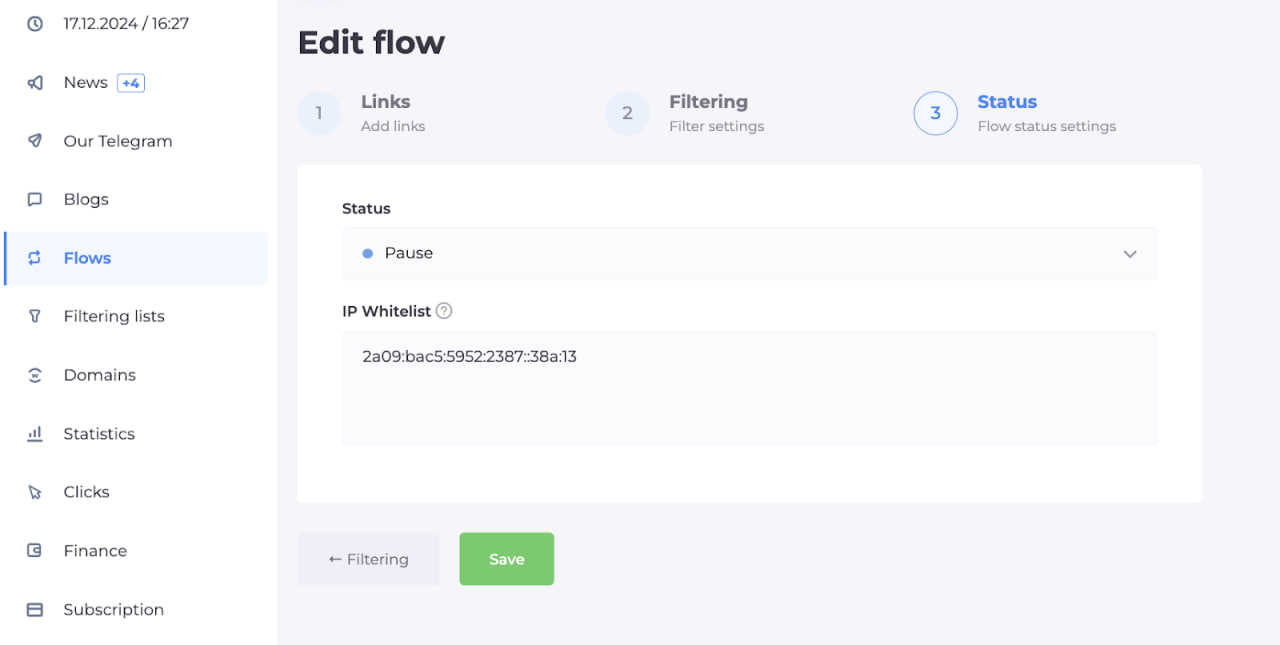
By adding your IP address to the whitelist, you bypass all filters and can go directly to the Offer Page.
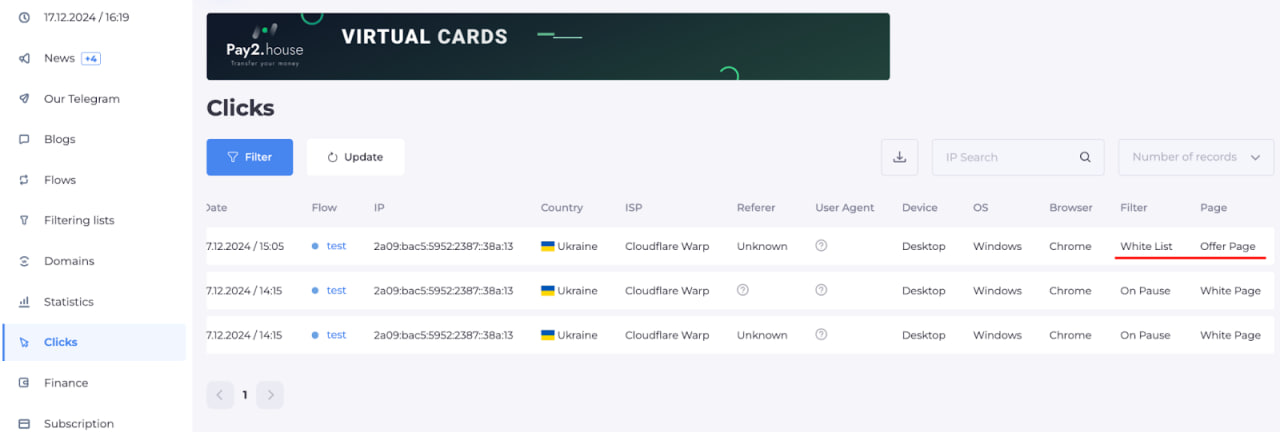
Now open the link again, and if you’ve done everything correctly, you will be redirected to the Offer Page. In the "Clicks" tab, your click will show that you successfully reached the Offer Page.
At this point, all settings and checks are complete!
Now you have a ready link to use in your ad campaigns.
Thank you for your attention, and we wish you successful launches and high ROI!


Be the first to share your opinion!
We value your feedback — share your thoughts.